
Call Us (855) 374-7216
Whether you’re crafting T-shirts, tote bags, hats, or decals, you want your transfers to be as vibrant, detailed, and durable as possible. No matter how long you’ve been working with DTF prints, it's easy to tell that achieving top-notch quality in your transfers requires more than just pressing print.
From selecting the right materials to perfecting your techniques, there are key steps that can make a world of difference. Whether you’re a seasoned professional or just starting out, this guide will share practical tips to enhance the quality of your DTF transfers and ensure your prints truly stand out.
A high-quality transfer starts with a high-quality design file. Ensure your artwork is in a high-resolution format, like 300 DPI, to maintain sharpness and prevent pixelation. Use vector files when possible, as they allow for scalability without compromising detail.
Pay attention to your color settings too; working in the right CMYK color mode ensures your design translates accurately to the print. Remember, the final print is only as good as the file you start with, so take the time to fine-tune your design.
To get the best results, spend a little time tweaking your printer settings. Start by selecting the highest print quality available—this often goes by names like “High” or “Best” in your printer's options. Be sure to choose the correct paper type to match your transfer paper—this small detail can make a big difference in how the colors and details come through.
Don’t forget to adjust the color profiles or enable any specific settings recommended by your transfer paper’s instructions. It may take an extra moment, but dialing in those settings ensures your design looks as crisp and vibrant in print as it does on your screen.
Evenly applying the powder to your transfer is a crucial step to achieving professional results. Sprinkle an even layer of the powder over your printed design, covering every inch of the ink. Once you’ve fully coated the design, gently shake off any excess powder to avoid clumping or uneven textures.
Pro tip: Work over a clean surface or tray so you can easily collect and reuse the excess powder—no waste, no fuss! Taking your time with this step ensures your design bonds beautifully during the heat transfer process, leaving you with a flawless finish.
Curing the adhesive powder is where science meets a bit of magic—this step locks everything in place for a durable, long-lasting design. To cure the powder, carefully place your coated transfer under a designated heat source, such as a heat press or curing oven. The key here is achieving the perfect temperature and timing.
Too hot or too long, and you might scorch the design; too cool or too short, and the adhesive won’t bond properly. Depending on the fabric, you’ll want to aim for 280–350°F but always refer to your specific materials’ guidelines for the best results. Once cured, the adhesive will have a smooth, slightly glossy appearance, and your transfer is ready for the next step!
When using a heat press, precision is your best friend. Set your heat press to the manual’s recommended temperature range and don’t forget to preheat it properly before starting. This ensures a consistent transfer and avoids any surprises mid-process. Once you reach the right temperature, align your transfer material carefully on your garment or surface.
Lock the press down for the manual’s suggested time (usually just a few seconds, depending on your design and material). Remember, timing is everything! Too much pressure or heat can distort the design, while too little might leave the adhesive undercooked. If you’re unsure, do a quick test to get the settings and timing just right—a little experimenting can help you achieve flawless results.
Not all fabrics are equal when it comes to heat transfers, and some require a bit more love and attention. For instance, cotton and polyester blends tend to play nicely with heat transfers, making them ideal for beginners. However, stretchy fabrics like spandex or delicate materials like silk need a gentler touch.
These fabrics benefit from lower temperatures and lighter pressure to prevent damage or distortion. Always take a moment to check if your material has any special needs or pre-treatment requirements.
High-quality pigment-based DTF inks are among the best investments you can make. These inks produce vibrant, long-lasting colors that won’t fade easily—even after repeated washes. Compared to dye-based inks, pigment-based options provide better durability and richer, more saturated hues, ensuring your designs stand out on any garment.
Plus, they work beautifully on a range of fabric types, giving you the versatility to take on any project with confidence. For the best results, always ensure your inks are compatible with your printer and properly store them to maintain their quality.
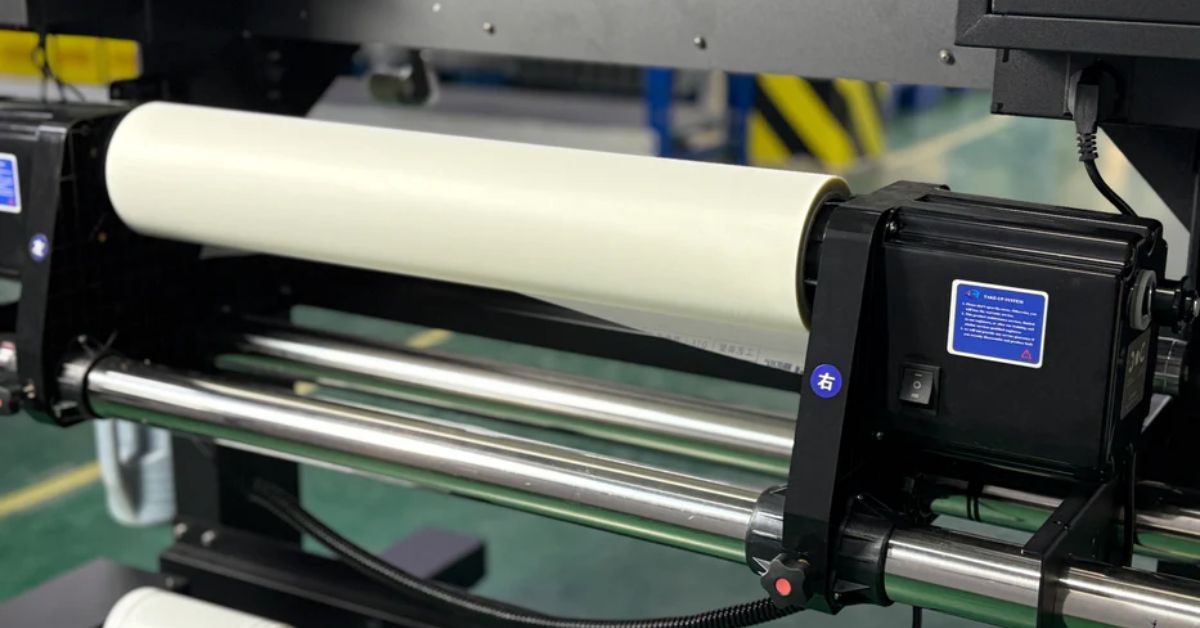
Premium-grade DTF film is another essential ingredient for heat transfer success. These films provide a smooth surface for your designs to adhere to, ensuring crisp, clean transfers every time. Look for films that offer excellent ink absorption and minimal static for hassle-free printing and peeling. Additionally, high-quality DTF films are more resistant to tearing.
Whether you're working on cotton, polyester, or blends, a good DTF film helps deliver professional results that last. Pair it with the right ink and printer setup, and you’ll be well on your way to creating stunning, eye-catching designs!
Proper maintenance of your DTF printing equipment is crucial for long-term success and consistently high-quality results. You’ll want to clean your printer heads regularly to prevent clogs and ensure smooth ink flow. Dust and debris can accumulate over time, so give your machine a gentle wipe-down and check for any obstructions in the mechanisms.
Don’t forget to inspect your rollers and belts for signs of wear and tear—replacing them as needed can save you a headache down the line. Additionally, keeping your printer in a controlled environment, free from extreme temperature or humidity fluctuations, will help prolong its lifespan.
If your printer isn’t working as well as it used to, it might be in need of a little more serious TLC. Fortunately, you don’t have to toss your entire setup; at Inkjet Parts, we sell a wide range of DTF printer parts to help you get your machine back up and running in no time.
With these practical tips, you can enhance the quality of your DTF transfers and turn out stunning designs every time. So go ahead—get creative, experiment with techniques, and watch your prints shine!


Leave a comment